Updated Article Available
I’ve written a new, complete guide for creating a high tech, low clutter home office setup. Check it out here.

I’ve loved my Klipsch ProMedia 2.1 computer speakers ever since I bought them 12 years ago. So when the amp died earlier this month I thought I’d find a replacement amp but keep the speakers. I discovered the tiny, cheap, and intriguing Lepai LP-168HA and it looked perfect for powering the Klipsch speakers. But as I planned the setup for the amp, I also decided to embark on a massive cable management hack to keep everything neat.
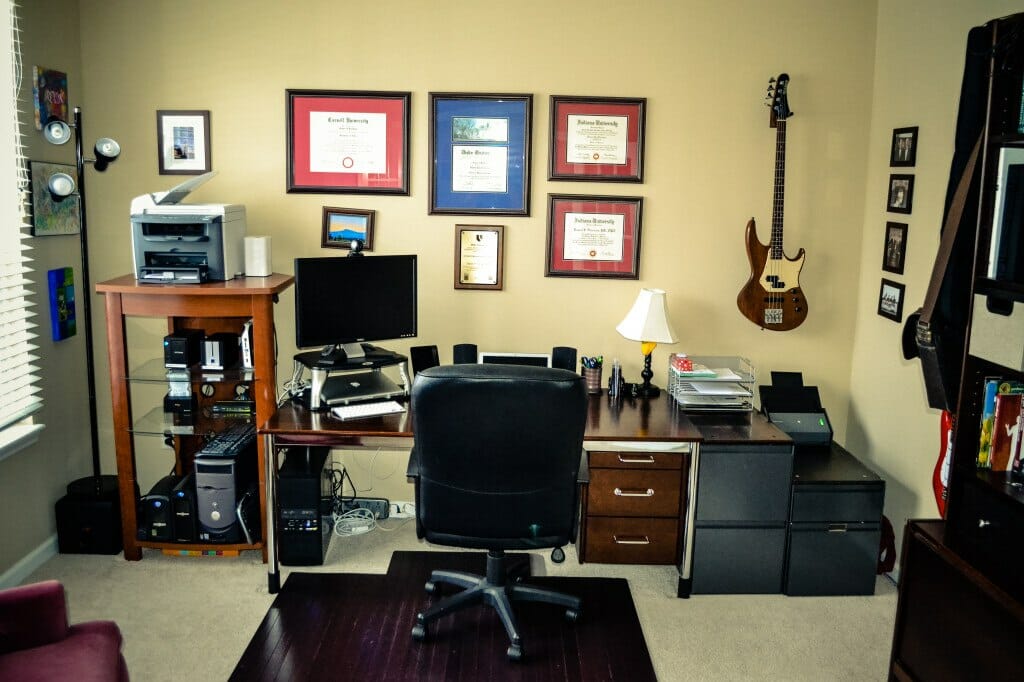
As you can see from the before photo, I have a fair amount of computer equipment in the office. 3 servers, 2 NAS devices, 2 laptops, UPS power supplies, printer, routers, hubs, Evernote ScanSnap, etc. Given the number of cables involved, my previous setup was fairly tidy. I also had a couple of file cabinets to stash whatever paper isn’t yet in Evernote.
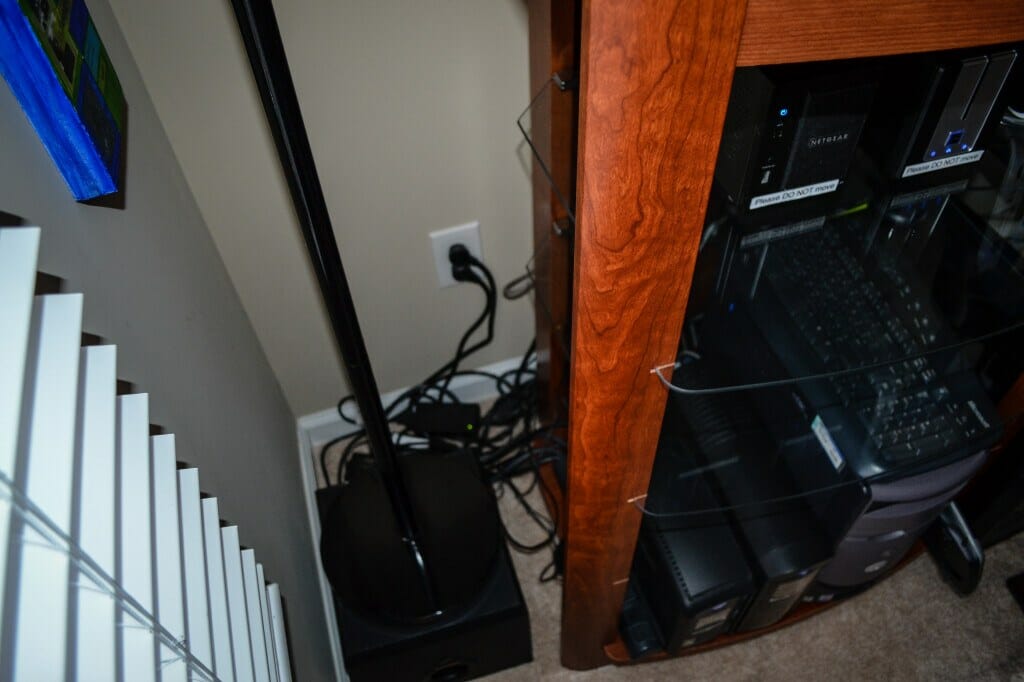
But, there was clearly room for improvement. I couldn’t really vacuum into the corners. I had two keyboard hooked up to the servers, but didn’t ever use them.
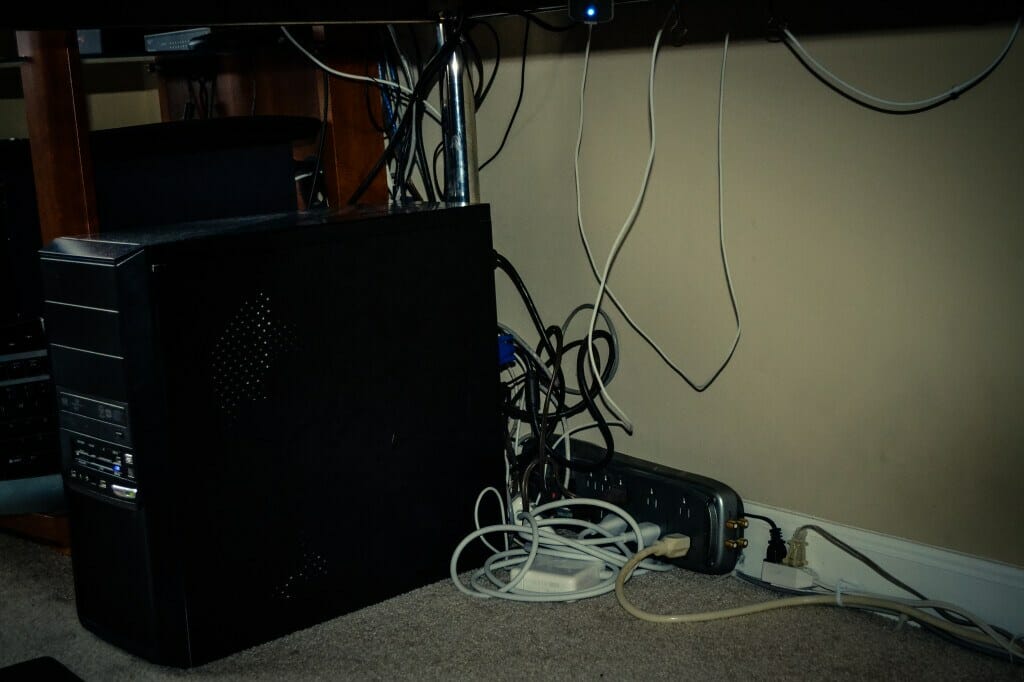
There was also this massive tangle of wires sprouting forth from my surge protector. All of it had collected a fair amount of dust in the 8 years we’ve lived here.
I was inspired by the neatness of this clever pegboard gadget setup I saw on Lifehacker. So, I picked up some pegboard at Lowes and ordered a mounting kit of spacers. (Why they don’t carry the spacers at Lowes I have no idea). I already had an ample supply of zip ties.
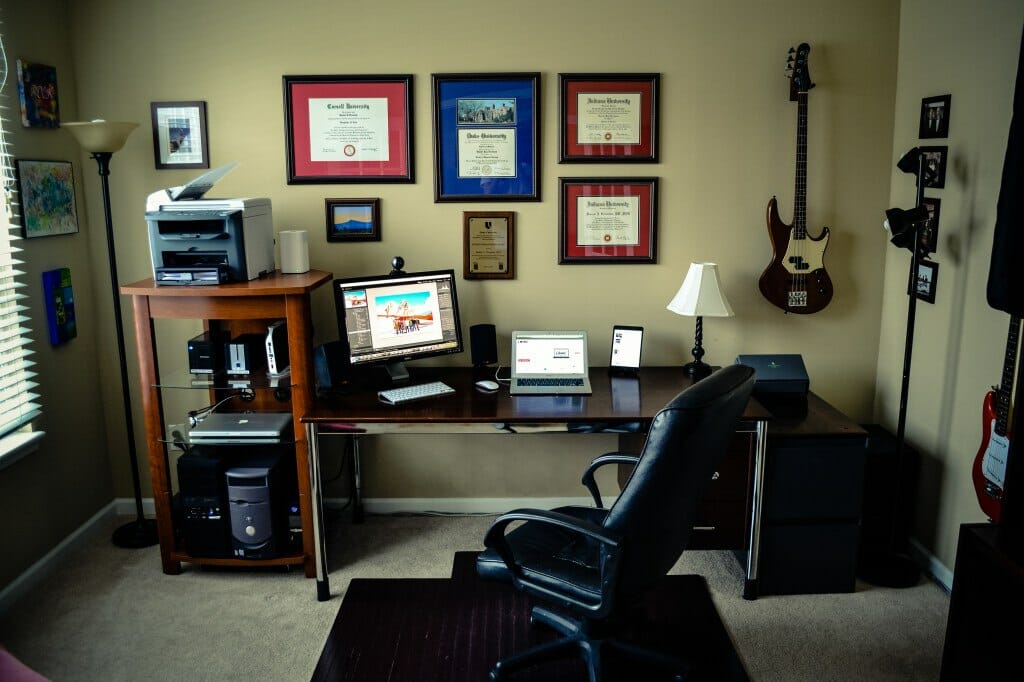
I think the result is fabulous.
Where’d all the cables go?
Basically, behind and underneath. In my quest to simplify the setup, I ditched the monitor stand. The Macbook Pro now sits on the shelf where it can easily be removed for mobile use. The hub that was on that shelf is now actually mounted behind the AV tower. I did some fast scanning and shredding with the Evernote ScanSnap to get rid of an entire file cabinet.
The real magic though is underneath the desk where I’ve mounted two power strips and the Lepai amp to the pegboard. All of the wiring is totally invisible from the rest of the room. The amp is handy to access for sonic adjustments. Oh, and I also make extensive use of binder clips to keep the cables right where I want them when I disconnect my Macbook Air or iPad Mini.
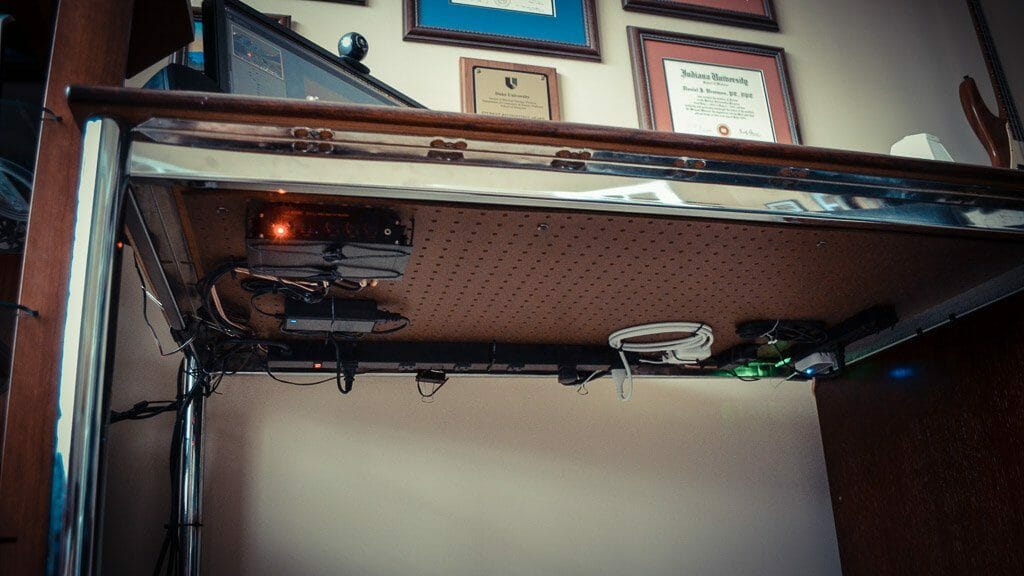
Pegboard mounted under desk for holding power strips, cable, audio amp.
I also did major cable mounting and clean-up behind the AV tower so that almost nothing is visible from the front.
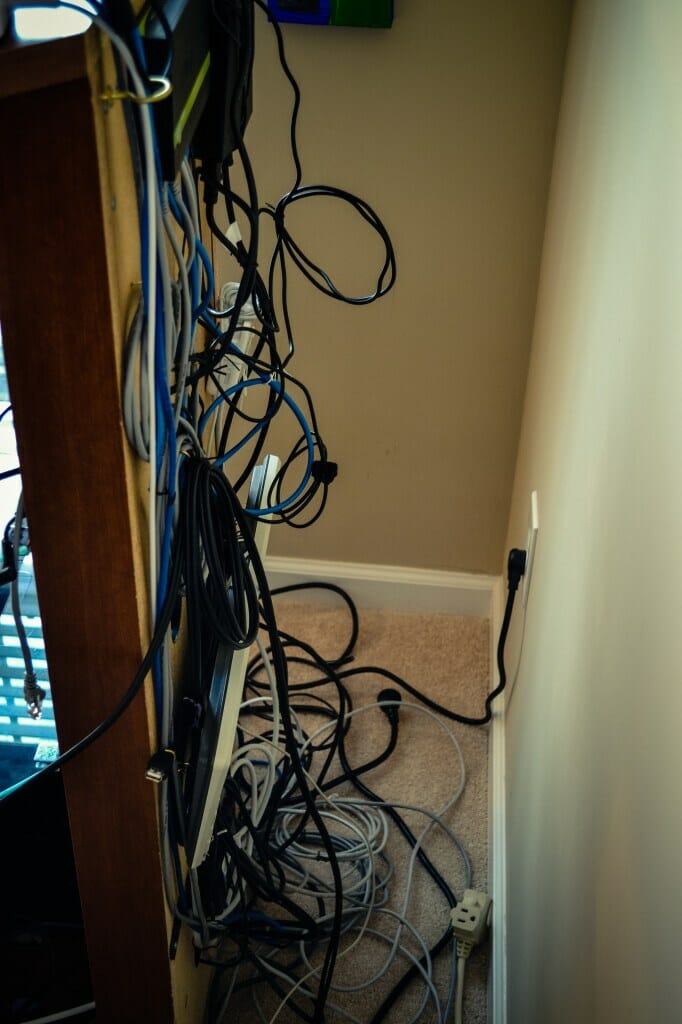
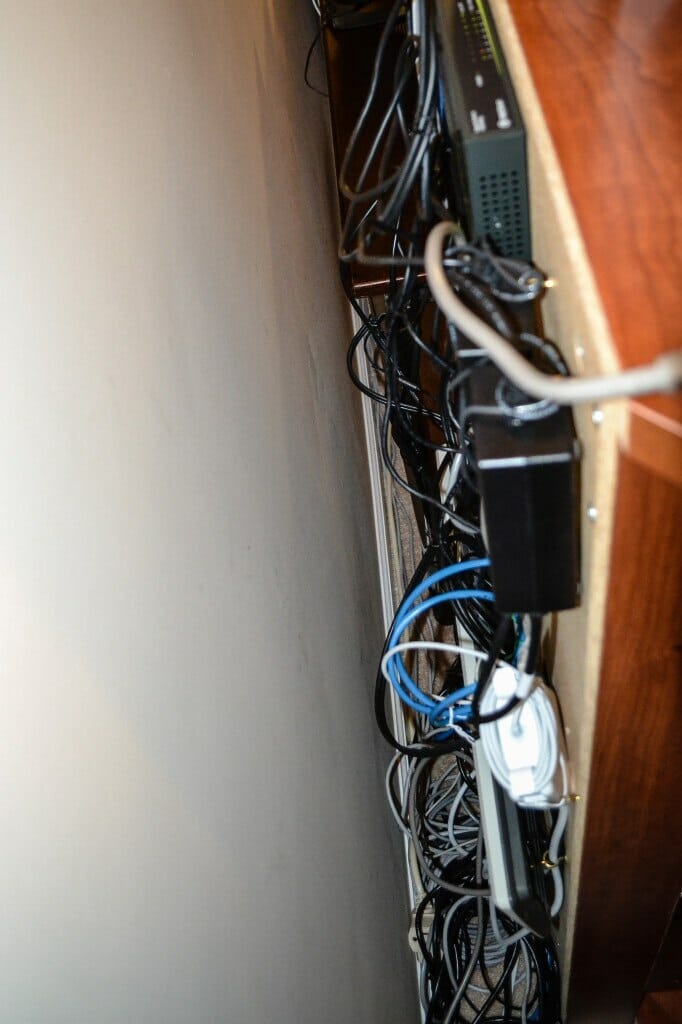
Re-wiring in progress…network hub, power bricks, a keyboard, and tons of cables all being mounted behind AV tower.
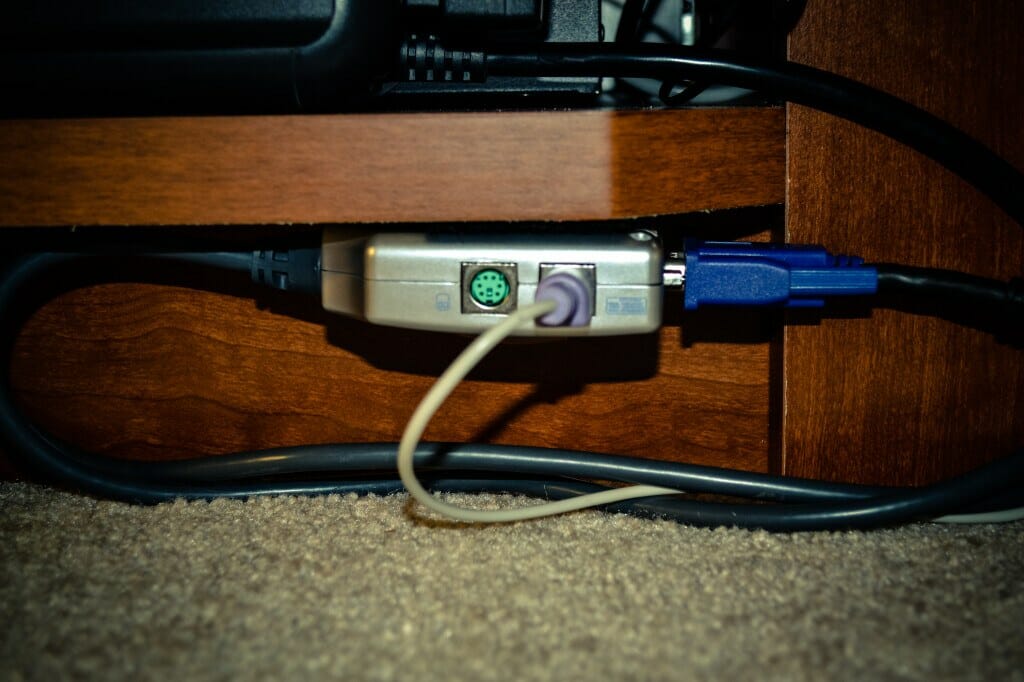
I used a ton of eye hooks for mounting coiled wires, power supplies for the NAS devices and MBP, and even an old keyboard to the back of the AV tower. Why do I still need a keyboard? Well, basically because when these servers reboot without a keyboard the BIOS triggers a “Keyboard not detected” error that halts the boot process. There’s no setting to bypass that error. So, I’ve got both servers hooked up to a little KVM switch mounted on the side of the AV tower. The KVM is hooked up to the monitor, so I can actually toggle display between the MBP, webserver, and internal network server.
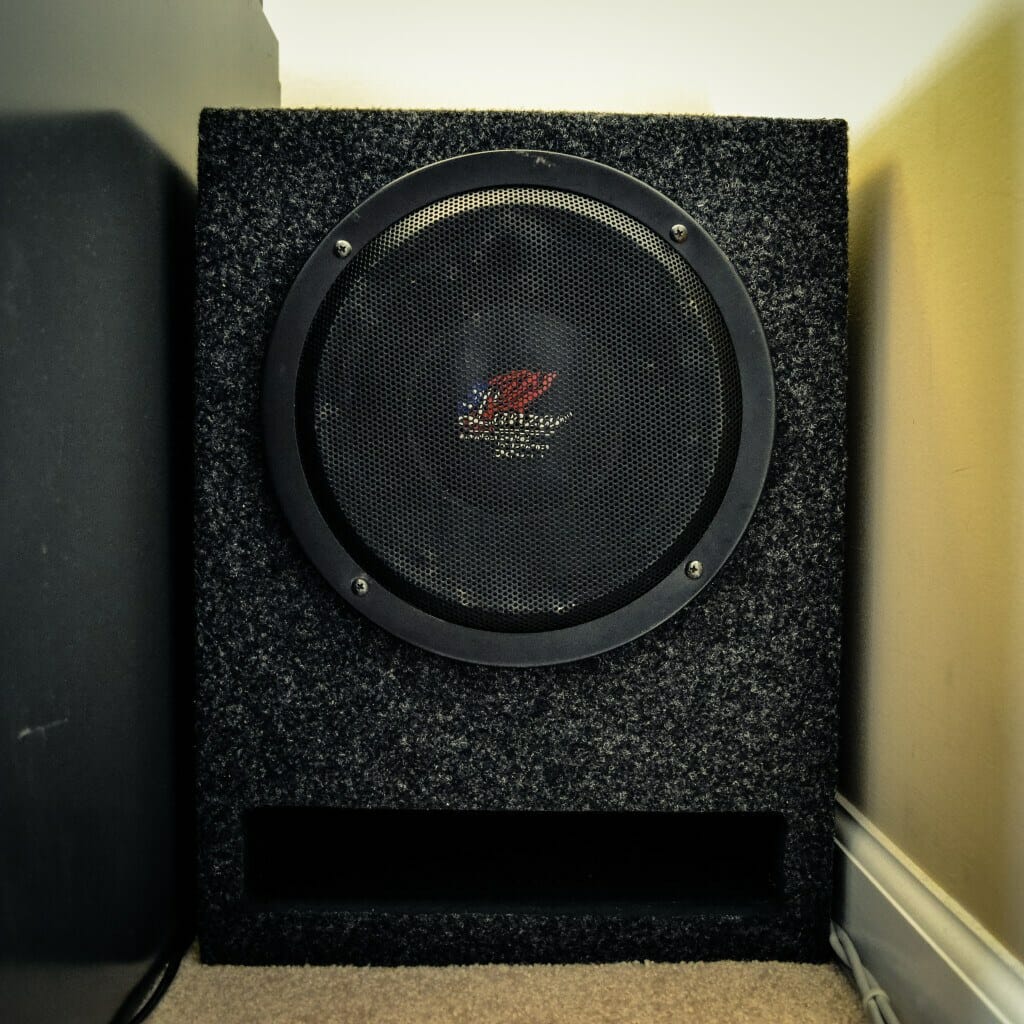
The last thing to point out is that I swapped out the 8″ subwoofer from the Klipsch ProMedia with a 10″ Lanzar DC-10 that used to rock in my car. I picked up a great new cabinet from R/T mobile sound systems to house it. The Lanzar sub mounted easily in the new box. My only gripe about the R/T box was the cheap speaker level connections on the back. I swapped those out with binding posts from my favorite audio supplier, Parts Express.
The sub has never sounded better!
Disclosure of Material Connection
Some of the links in the post above are “affiliate links.” This means if you click on the link and purchase the item, I will receive an affiliate commission. Regardless, I only recommend products or services I use personally and believe will add value to my readers. I am disclosing this in accordance with the Federal Trade Commission’s 16 CFR, Part 255: “Guides Concerning the Use of Endorsements and Testimonials in Advertising.”

